
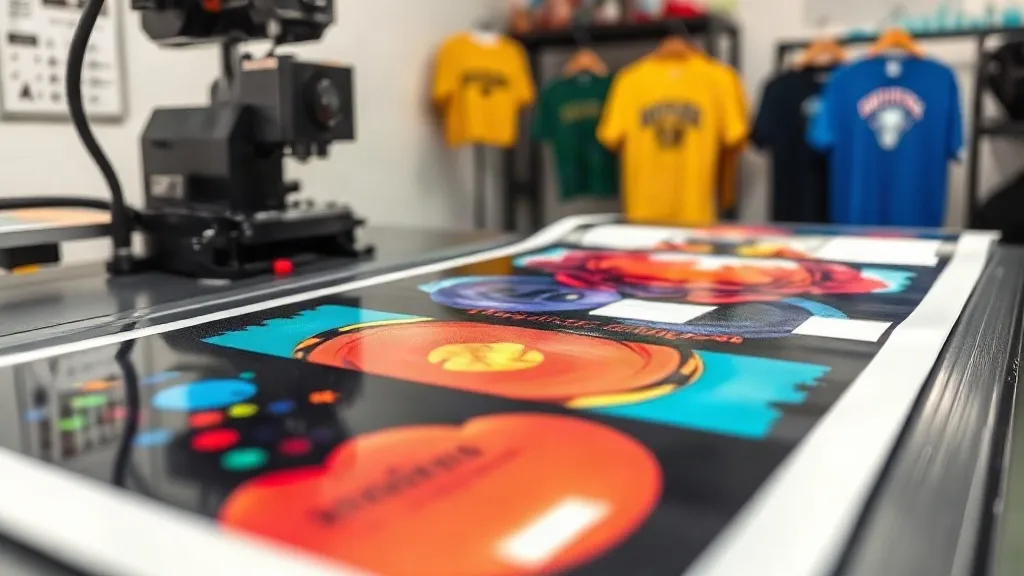
When you're running a print shop, dtf transfers can be a game-changer for producing vibrant, durable custom apparel. But even with a reliable process, production hiccups happen. Maybe you've noticed colors looking off, transfers peeling after a few washes, or the film jamming in the printer. These problems aren't just frustrating; they cost time and money. In this guide, we'll tackle the most common DTF production issues and give you practical, field-tested solutions so you can keep your shop running smoothly and your customers happy.
Why DTF Transfers Are Worth the Effort
Before we dive into troubleshooting, let's briefly recap why dtf transfers have become so popular. Unlike other methods, DTF doesn't require pre-treating garments (except for certain fabrics), works on a wide range of materials including cotton, polyester, and blends, and produces soft, stretchable prints. The process involves printing your design onto a special film, applying a hot-melt powder, and then heat-pressing it onto the fabric. It's versatile and cost-effective, especially for small to medium runs. However, the multi-step nature means there are several points where things can go wrong. Understanding these steps is key to diagnosing problems.
Common DTF Problems and How to Fix Them
Let's break down the issues by category: printing, powder application, and heat pressing. Each stage has its own set of challenges, and knowing how to address them will save you from costly mistakes.
Printing Issues: Color, Banding, and Film Jams
Print quality is the foundation of a good transfer. If your prints look bad, the final product will too. Here are some typical printing problems and their solutions.
1. Colors Look Dull or Incorrect
If your prints appear washed out or the colors are off, start by checking your ink. DTF printers use pigment inks, and expired or improperly stored ink can cause color shifts. Always use fresh ink and store it according to the manufacturer's recommendations. Next, ensure your printer's nozzles are clean. A clogged nozzle can lead to missing colors or banding. Run a nozzle check and clean if necessary. Also, verify that your color profiles are correctly set for DTF printing. Using the wrong ICC profile can drastically alter output. If you're using RIP software, make sure it's configured for your specific printer and ink set.
2. Banding or Streaking
Banding, those horizontal lines across your print, usually indicates a clogged printhead or misalignment. Start with a thorough printhead cleaning. If that doesn't solve it, check the printhead alignment and adjust if needed. Sometimes, banding can also be caused by a worn-out damper or air in the ink lines. Inspect these components and replace them if they appear damaged. Additionally, ensure the printer is on a stable surface and that the film is feeding smoothly without any tension issues.
3. Film Jams or Misfeeds
Film jams are a common nuisance. They often occur if the film is not loaded correctly or if the rollers are dirty. Clean the rollers with a lint-free cloth and isopropyl alcohol. Make sure the film is threaded properly according to the printer's manual. Humidity can also affect film feeding; if your shop is too dry, static might cause the film to stick together. Using a humidifier or anti-static device can help. Also, check that the film width matches your printer's specifications and that the roll is not wound too tightly.
Powder Application Problems: Adhesion and Texture
After printing, you apply hot-melt powder to the wet ink. This step is critical for the transfer's durability. Here's what can go wrong.
1. Powder Not Sticking to the Ink
If the powder doesn't adhere properly, you'll end up with bare spots and poor transfer. This usually happens if the ink is too dry before powder application. Work quickly after printing to apply powder while the ink is still wet. Also, ensure that the powder is dry and free of clumps. Store it in a sealed container and use a sieve to break up any lumps. The particle size of the powder should match your ink and printer; using the wrong type can cause adhesion issues. Finally, check that your powder application unit is functioning correctly and distributing an even layer.
2. Excess Powder Causing Rough Texture
Too much powder leads to a rough, plasticky feel and can also cause problems during pressing. After applying powder, gently shake off the excess. Use a soft brush or a powder shaker with a fine mesh to control the amount. If you're using an automated shaker, calibrate it to apply just enough powder to cover the ink without piling up. Remember, a thin, even layer is all you need.
Heat Pressing Issues: Peeling, Cracking, and Incomplete Transfer
The final step is pressing the transfer onto the garment. Mistakes here can ruin both the transfer and the shirt.
1. Transfer Peeling After Washing
Peeling is often due to insufficient pressure, temperature, or time during pressing. Each transfer film and powder has specific recommendations, so always follow the manufacturer's guidelines. As a starting point, typical settings are 320°F (160°C) for 15 seconds with medium pressure. However, you may need to adjust based on your press and materials. Ensure the press is evenly heated and that the pressure is consistent across the platen. Also, make sure the garment is completely dry before pressing; moisture can prevent proper adhesion. After pressing, allow the transfer to cool completely before peeling the film. Peeling while hot can cause the design to lift.
2. Cracking or Fading Over Time
Cracking usually indicates that the transfer didn't fully adhere or that the ink/powder combination is too brittle. Check that you're using compatible products. Some powders are more flexible than others, so choose one that suits your fabric type. If you're pressing onto stretchy fabrics, consider using a stretchable powder. Also, over-pressing can make the transfer brittle, so stick to the recommended time and temperature. Finally, washing instructions matter: advise customers to wash inside out in cold water and avoid harsh detergents to prolong the life of the print.
3. Incomplete Transfer (Patchy Areas)
If parts of the design don't transfer, it's likely due to uneven pressure or a cold spot on the press. Use a pressure gauge to ensure even pressure across the platen. If your press has cold spots, you may need to preheat the garment for a few seconds before pressing. Also, check that the transfer is properly positioned and that no edges are folded over. Sometimes, a second press for a few seconds after peeling can help smooth out any areas that didn't adhere.
Preventive Maintenance and Best Practices
Many issues can be avoided with regular maintenance and good habits. Here are some tips to keep your DTF production running smoothly.
- Daily printer maintenance: Run a nozzle check every morning and clean the printhead as needed. Keep the printer clean and dust-free.
- Proper storage: Store film, powder, and ink in a cool, dry place away from direct sunlight. Follow expiration dates.
- Calibrate your heat press: Periodically check temperature and pressure with external devices to ensure accuracy.
- Test new materials: Before running a large order, test a small sample with new garments or transfer films to dial in settings.
- Keep records: Document settings for different fabrics and designs so you can replicate success.
When to Seek Professional Help
Some problems may require expert intervention. If you've tried troubleshooting and issues persist, consider contacting your equipment supplier or a technician. For example, persistent banding that doesn't respond to cleaning could indicate a failing printhead. Similarly, if your heat press has inconsistent temperature, it might need recalibration or repair. Don't hesitate to reach out to support forums or professional services; sometimes a fresh perspective can save hours of frustration.
Finding Reliable Supplies and Support
Using high-quality consumables is half the battle. If you're looking for dtf transfers near me, ensure you source from a reputable supplier who offers consistent products and technical support. Many suppliers provide guides and troubleshooting assistance, which can be invaluable. Building a relationship with your supplier can also give you access to insider tips and early access to new products.
Frequently Asked Questions
How can I prevent my DTF transfers from fading after washing?
Fading can be minimized by using quality inks and powders, ensuring proper pressing, and advising customers to wash garments inside out in cold water and tumble dry low. Avoid ironing directly over the print.
What's the ideal temperature for pressing DTF transfers?
Most DTF transfers press at around 320°F (160°C) for 15 seconds, but always check the specific instructions from your transfer supplier as different films and powders may require adjustments.
Can I use DTF transfers on dark garments?
Yes, DTF transfers work well on dark fabrics because the white ink layer provides a base for vibrant colors. Just ensure you apply enough white ink and powder for opacity.
Why is my DTF powder not melting properly?
If the powder isn't melting, it could be due to insufficient temperature or time during pressing, or the powder may be old or damp. Ensure your press is at the correct temperature and that the powder is dry and within its shelf life.
How do I store DTF transfers before use?
Store unused transfers in a cool, dry place away from direct sunlight. Keep them flat to avoid creasing. Once pressed, the garment should be cared for as mentioned above.